|
Ever run out of scion wood when grafting chestnut trees? Scion wood
is normally obtained in the middle of the winter, January or February
in the Northern Hemisphere. The scion wood is then stored refrigerated
until needed in mid to late spring. Once your stash of scion wood is
used up, thats the end of the grafting season. Presented here is a
method of grafting chestnut trees using new scion wood with current
year's growth (green growth on root stock).
So far, the green on green grafting method has only been tested using
the saddle grafting method (Dirr). What makes the green on green
grafting technique different is the selection of the scion wood and
the root stock or under stock. The green under stock refers to current
year's growth on the under stock. This new growth will have a bright
green branch color.
|
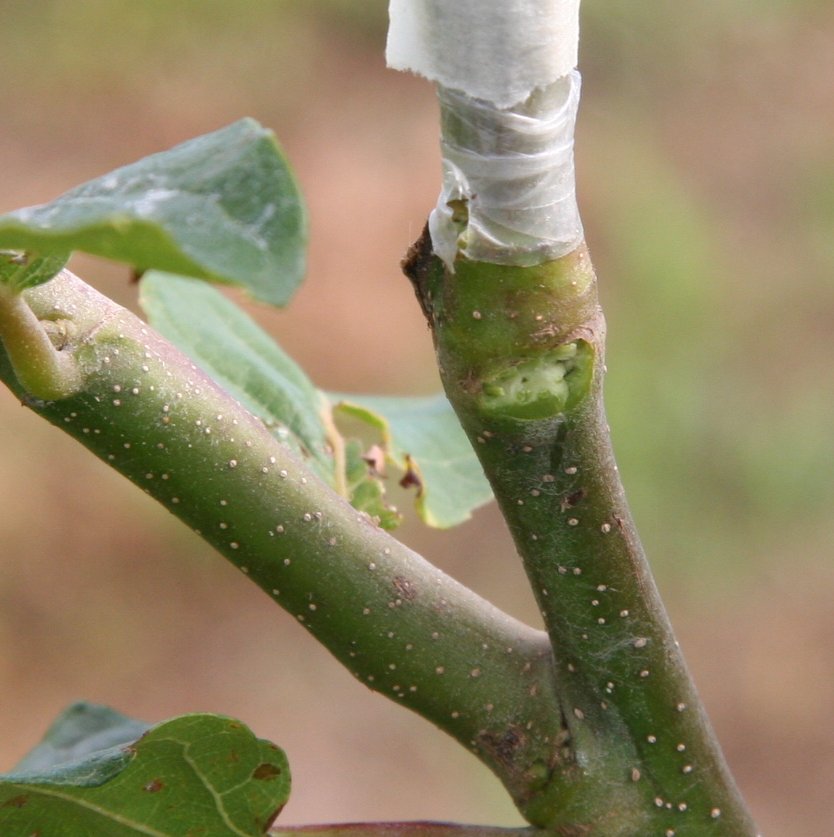
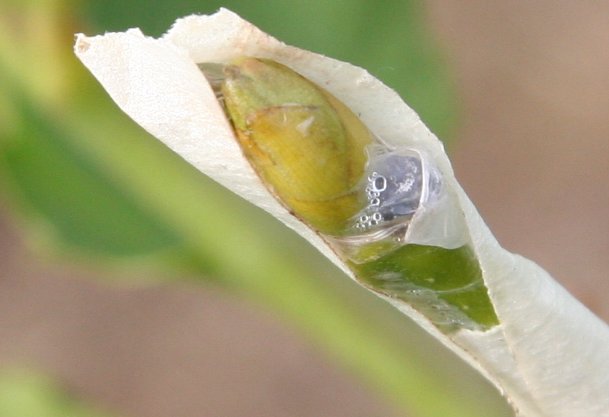
Figure #1 is a Colossal under stock with the green
wood from this year's growth. The size and location of the point where
the graft will be attempted is important. The under stock size needs to
be near the same size as the scion wood. The material at the top of the
under stock is Parafilm. Parafilm is used to seal the wood so moisture
loss is minimized, giving the graft a better chance to take.
Above the Parafilm is plain old masking tape. The purpose of the
masking tape is to prevent the sun from scorching the scion wood
portion of the graft.
|
|
Figure #1 Green Chestnut Understock
|
|
|
The mother tree of the scion wood to be grafted to
the root stock must be prepared about 2 weeks before grafting is
attempted. Select a branch of new growth (green) of the right size.
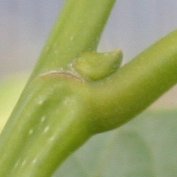
Pinch off the terminal growth. In about 2 weeks the branch will have
developed new buds just below where the terminal growth was removed
(Figure #2).
In figure #2 the bud is between the
leaf growth on the right and the main stem on the left. The health of
the mother tree is important when selecting scion wood. The mother tree
in this figure is growing vigorously providing excellent material for a
green wood graft. When the buds are at least 1/2 the diameter of the
wood the bud is growing from, then the scion wood is ready for harvest.
|
|
|
|
Figure #2 Green chestnut scion wood with bud |
|
|
Cut the prepared branch of scion wood from the mother tree at
least 2" below the 3rd bud, making sure your cut is within the green
growth (current year growth). Protect the scion wood from the sun by
covering with moist paper towel. Take the scion wood to the tree where
the graft will be performed (root stock). Find an upright branch of new
growth (green) on the root stock near the main trunk. Cut the branch
where the diameter of the branch closely matches the diameter of the
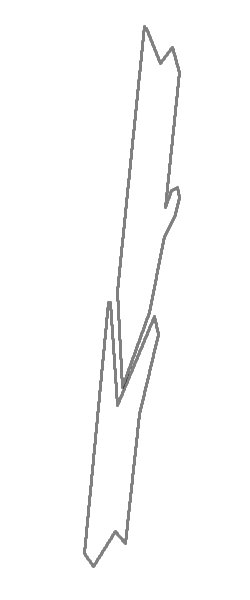
scion wood. With a grafting knife, make a 2" cut down the center of the
root stock branch, starting at the top of the cut and extending down
the center 2". The branch should be split in to two, down the center
(Figure #3 - bottom section).
Refer to Figure #3.
Remove the scion wood from the paper towel. At the base of the scion
wood, using the grafting knife, cut the scion wood on two opposing
sides to create a thin 2' long1/16" thick flat section. Now slip this
flattened section of the scion wood into the slit in the root stock
branch.
|
| Figure #3 Connecting Scion Wood |
|
|
The entire graft must now be wrapped tightly with
Parafilm, from about 1" below the cut in the root stock branch to the
top of the scion wood (Figure #4). This covering is to help reduce
moisture loss from the scion wood. The entire graft must now be covered
with masking tape with the exception of the buds on the scion wood. The
masking tape provides protection from overheating and burning the
graft/scion wood.
|
|
|
Figure #4 Sealed Green Graft Bud
|
|
|
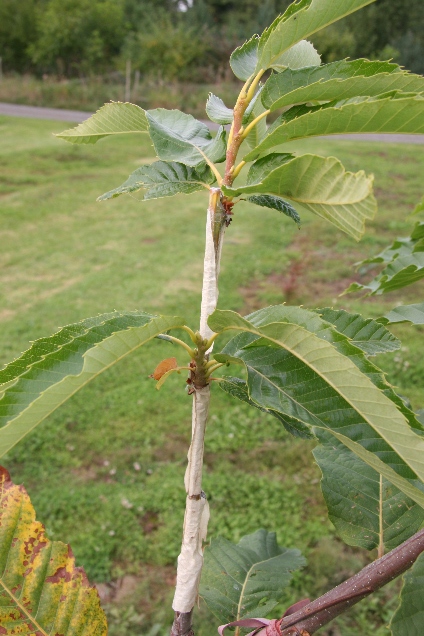
In a few weeks the graft should take and the buds should break
out. At the end of the growing season the graft should like Figure #5.
The picture was taken October 1, 2007 at the end of the growing season.
The growing season in 2007 was colder than normal causing the new
growth to be stunted. The graft would have grown much more if the
growing season was warmer.
When evaluating the quality of the resulting graft look at the size of the
buds and the color of the leaves. The leaves should be a deep green
with color and size nearly the same as the mother tree. Before the
start of the next growing season, some or most of the branches below
the graft must be removed. This is to make sure the tree remains true
to the new graft cultivar. Chestnut trees love to send out shoots from
the root stock. Make sure suckers are removed as soon as they form.
|
|
Figure #5 Successful Graft
|
|
References
Dirr, Michael A., The Reference Manual of Woody
Plant Propagation - From Seed to Tissue Culture
Return to Chestnut Guide Index
|